On this page, you will learn to root Samsung Galaxy A9 Pro SM-A9100 running on Android 6.0.1 with the built id MMB29M.A9100ZCU1APF1 using the Odin Application on Windows Computer.
Root Samsung Galaxy A9 Pro SM-A9100 using Odin
Step 1: Download and install Samsung Mobile Driver on your Computer (if Samsung Mobile Driver is already installed on your computer, then you dont have to install it again).

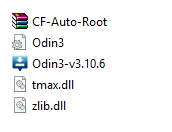
Step 2: Download root package on your computer. After downloading the package, you need to extract it on your computer.
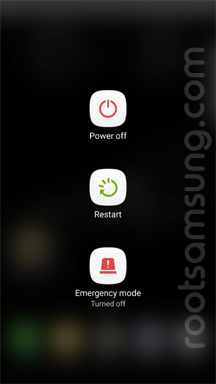
Step 3: Power off your Device.
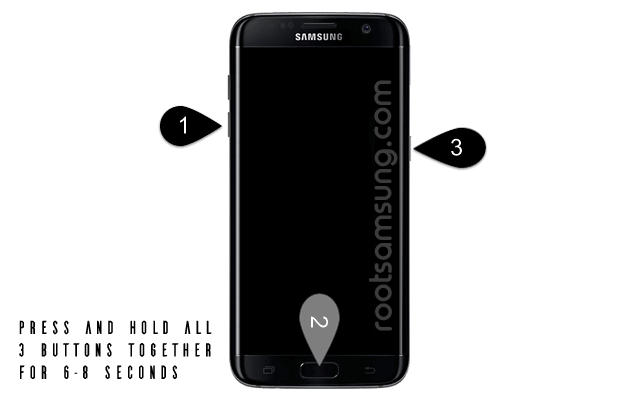
Step 4: Now, you need to boot the device into the download mode. To boot into the download mode, Press and Hold Volume Down + Home + Power button together for 6-8 seconds till you see the download screen.
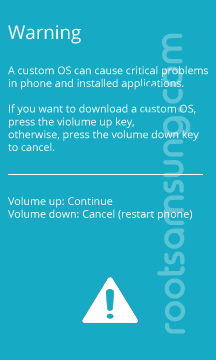
Step 5: Once you have entered into the download mode, you will be able to see the warning screen. You need to press the Volume UP button to continue.
Step 6: Open Odin Tool from the autoroot package (you have extracted it in step#2) on your computer.
Step 7: Connect your device to the Computer.

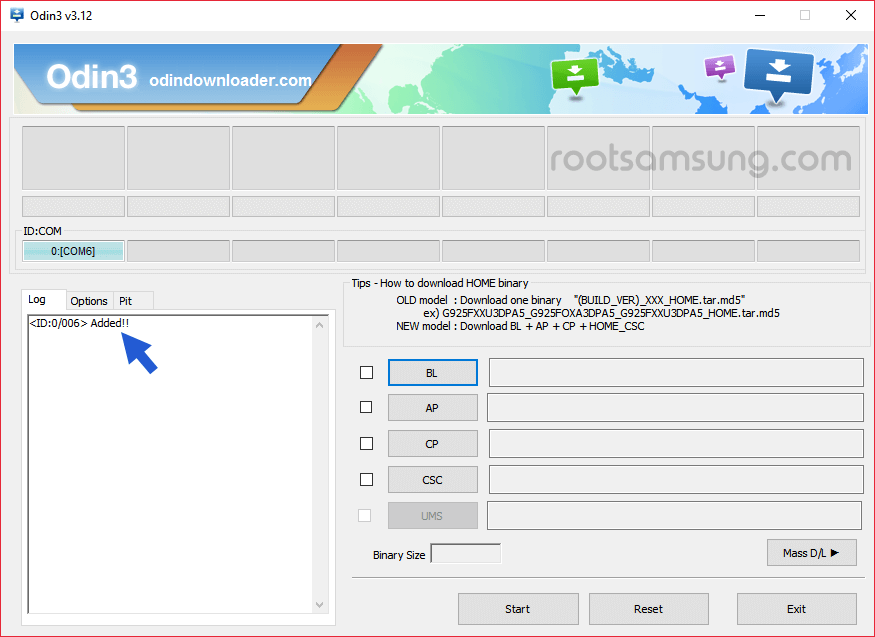
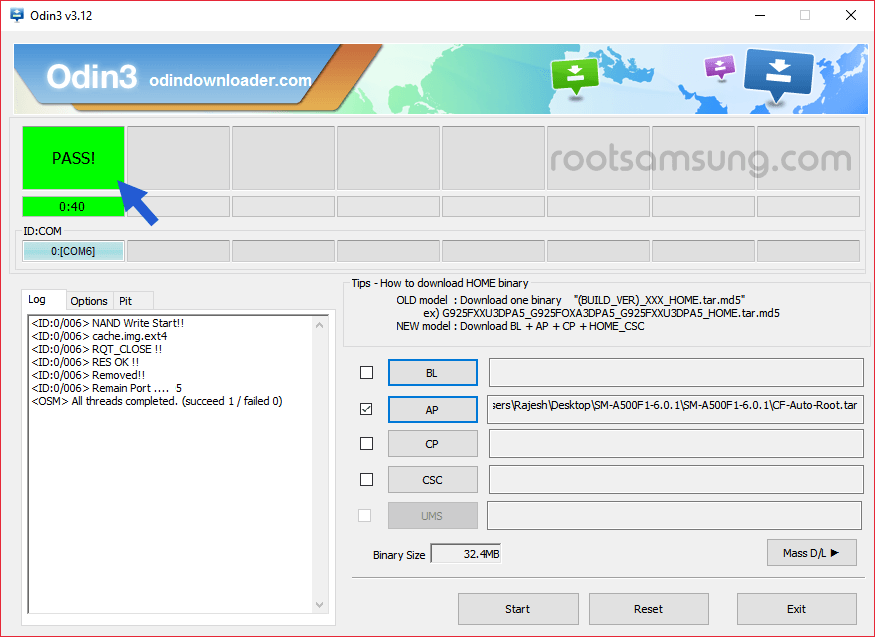
Step 8: Once your device is connected to the computer, Odin will automatically recognize it and will show Added message in log area.
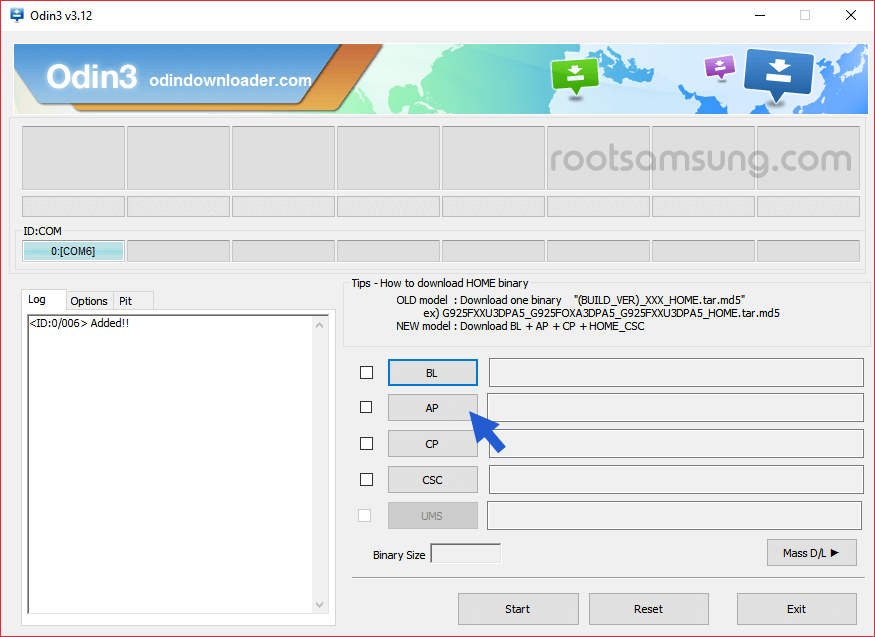
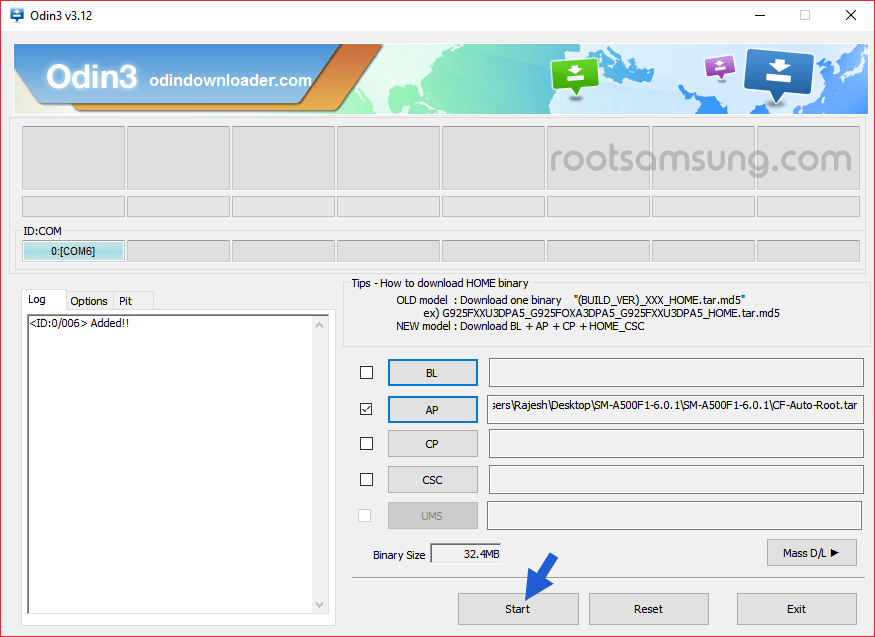
Step 9: Now, Click on the AP button (also called as PDA) and add the CF-Auto-Root.tar file (you have extracted it in step#2).
Step 10: Click on the Start button to begin the rooting process.
Step 11: once rooting process is completed, you will be able to see Green Box with PASS message.
Step 12: Now, disconnect your device from the computer and restart it.
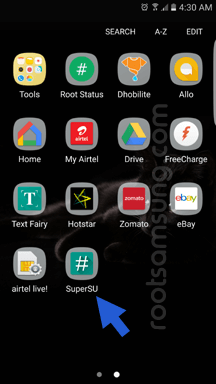
Step 13: Your device is hopefully rooted now. To confirm the root, check the SuperSU app installed on your device. If SuperSU app is present, then your device is rooted.
Alternatively, you can also check the root status of your device using the Root Checker App.
Readme Once:
[*] Backup: Take a backup of everything personal, as in few cases rooting the device may causes bootloop (device stuck at welcome logo screen).
[*] Fixing Bootloop: If after following the tutorial your device is stuck at the boot screen (logo), then you need to flash the stock firmware of your device to fix it.
[*] Samsung Stock Firmware: If you are looking for the stock firmware of your device then follow Download Samsung Stock Firmware page.
[*] Samsung USB Driver: If you are looking for the original Samsung mobile driver of your device then follow Download Samsung USB driver page.